CINEMA 4D • PLUGIN
Topoformer 2.0.
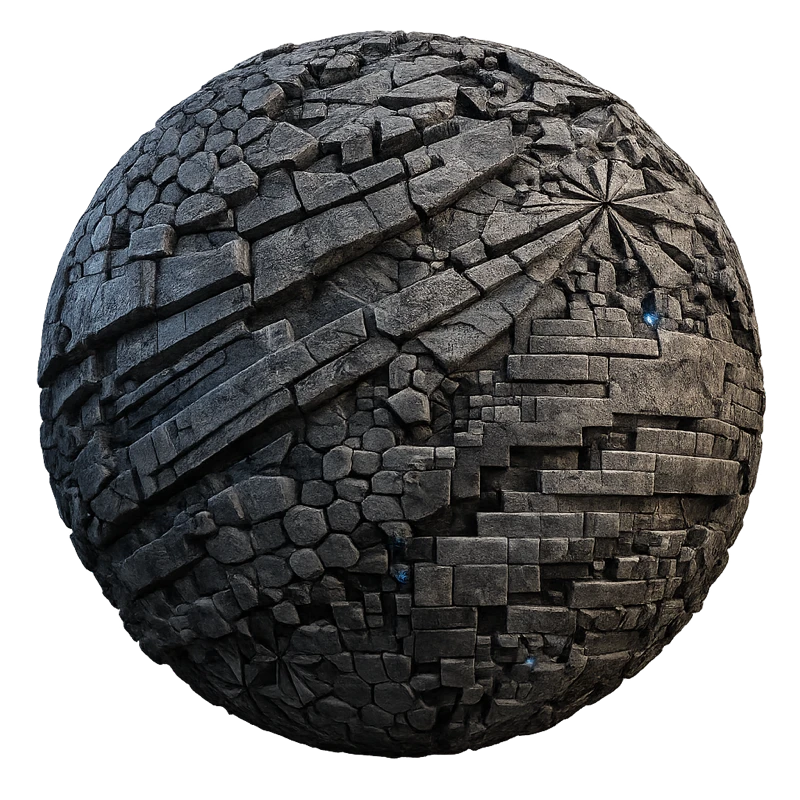
The Topoformer Cinema 4D plugin by Merk Vilson changes the topology of polygon objects and primitives procedurally. Also known as the Topology Deformer, it lets you explore surface patterns and structural variations while keeping your source object available for further adjustments.
Use this Cinema 4D topology deformer to compare patterns, add depth with MoExtrude and develop localized effects. Version 2.0 adds a real-time topology preview, topology switch buttons and a randomize button, as listed by the creator.
Creator-listed compatibility: Cinema 4D R23–2026.
AT A GLANCE
Topoformer Cinema 4D plugin
features.
Change the surface topology of polygon objects and primitives
Alter your meshes non-destructively
Compare topology types using the preview and switch buttons
Affect multiple objects with the same deformer
Works with MoExtrude to add depth to your mesh
Color fragments individually
Use fields and effectors for greater control
Explore procedural topology variations with adjustable parameters
02 / BUILT FOR YOUR WORKFLOW
Find a pattern
that fits.
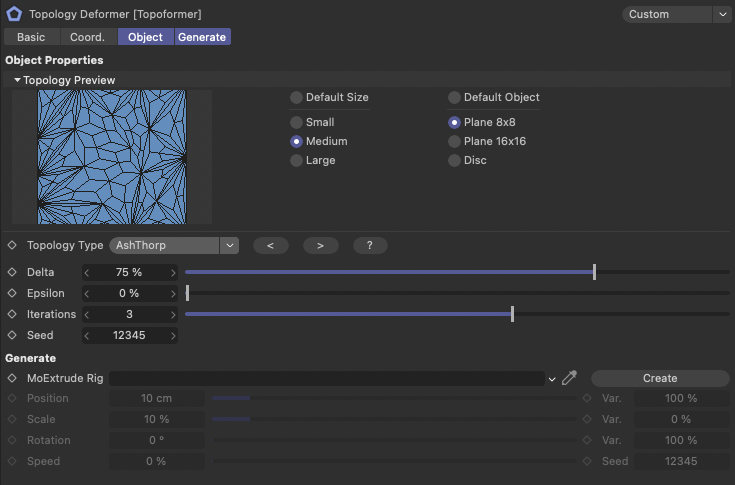
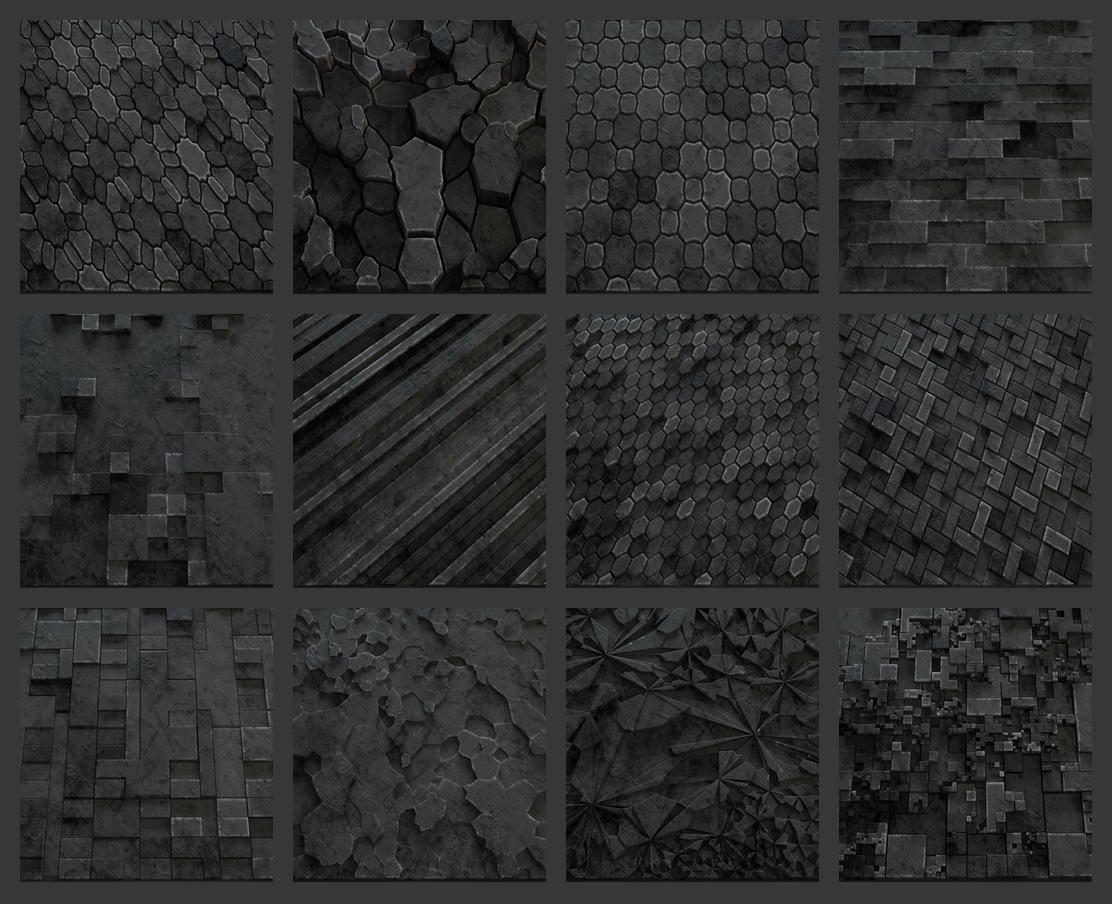
Start by comparing topology types on the same object. The reference interface shows a dedicated Topology Preview, a type selector and previous/next controls, helping you judge the structure before developing the rest of the scene.
Use randomization to explore alternatives, then refine a promising result. The displayed controls include Delta, Epsilon, Iterations and Seed. Compare their effect one at a time; a useful pattern should read clearly at your intended camera distance.
03 / BUILT FOR YOUR WORKFLOW
Add depth.
Control the effect.
The reference interface includes a MoExtrude Rig input for adding depth and variation to the generated topology. Establish the surface pattern first, then use extrusion to separate its layers and make the structure visible in lighting.
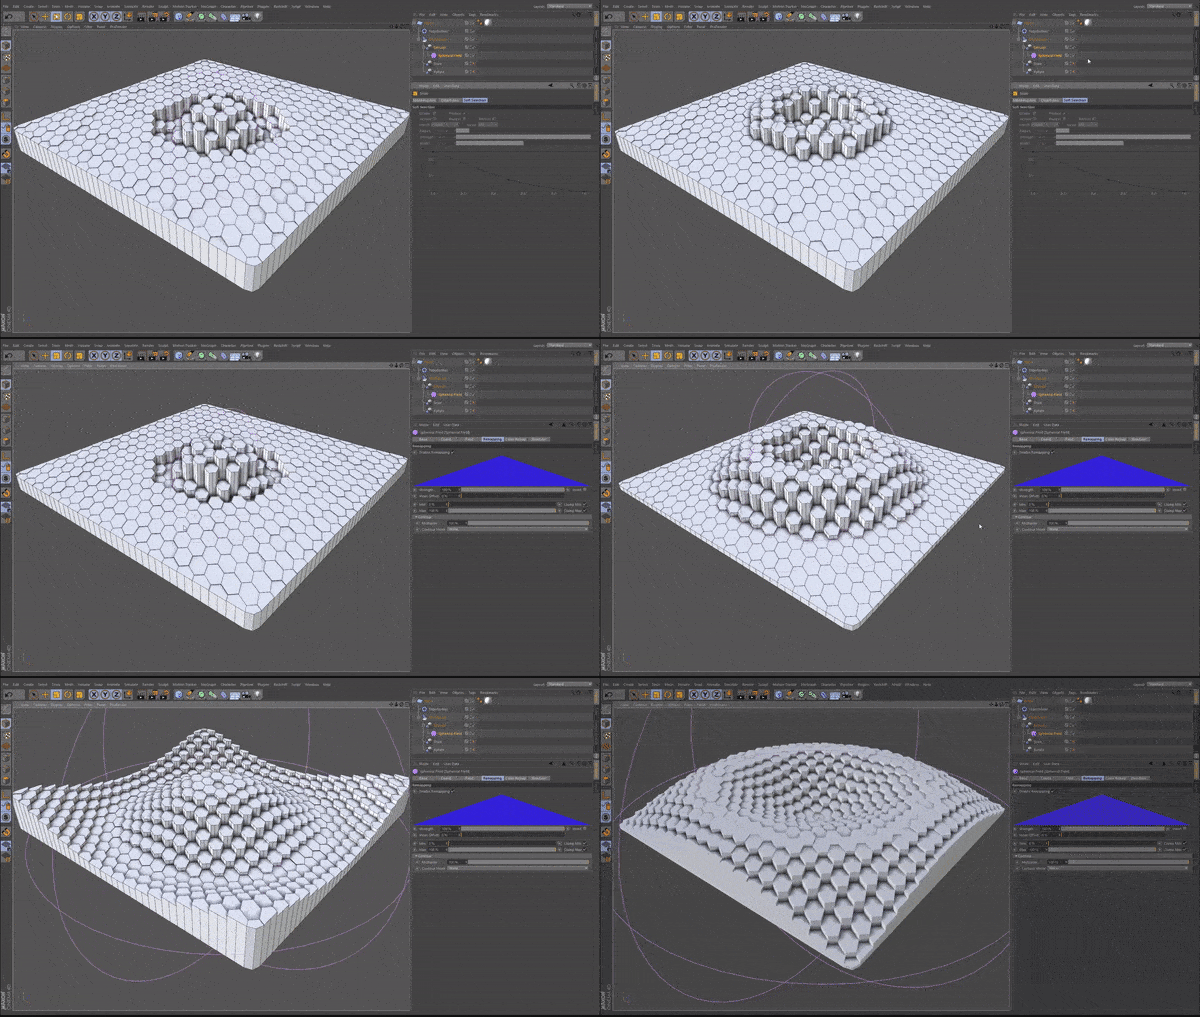
Fields and effectors provide another stage of control for localized or animated changes. Test the falloff on a simple object before combining several influences, so you can see which part of the setup produces each change.
04 / BUILT FOR YOUR WORKFLOW
Give each fragment
its own color.
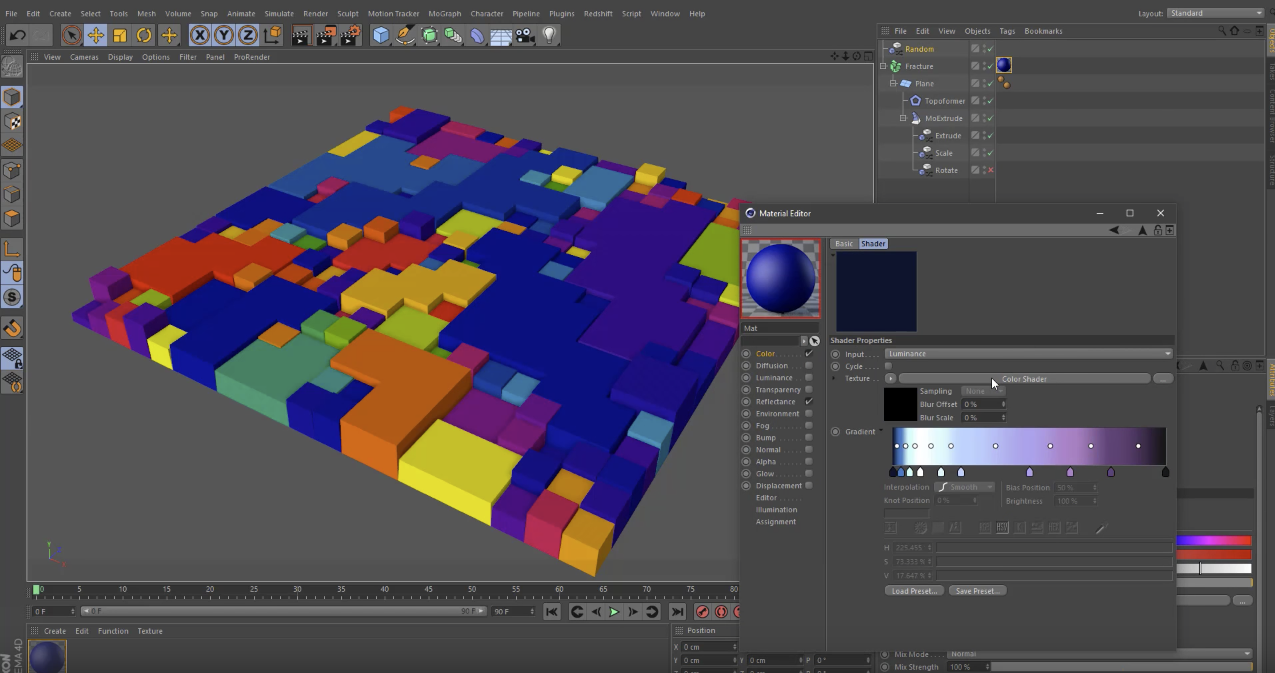
The Color Shader example shows different colors across the generated fragments. This can help separate adjacent pieces visually or create a broader color rhythm across the surface.
Try a small palette first and check how it reads under your scene lighting. Color variation and geometric detail compete for attention, so judge the final material alongside the pattern rather than treating them as separate decisions.
05 / BUILT FOR YOUR WORKFLOW
Draw the
affected area.
The drawing example demonstrates selecting where the topology treatment appears on the model. A localized effect can preserve a recognizable silhouette while introducing a different surface structure in one region.
Begin with a broad area, inspect the transition and refine it from the shot camera. Keeping that transition readable is especially useful when the object moves or the effect changes during an animation.

START WITH A SIMPLE SCENE
Build the pattern.
Then add detail.
- Choose the appropriate build. Check the creator’s supported Cinema 4D versions and supplied instructions. Our Cinema 4D plugin installation guide covers the general plugin-folder setup.
- Start with a simple source. Use a primitive or low-detail polygon object to make the topology changes easy to compare. Keep the source available while you explore variations.
- Compare topology types. Use the preview and type controls to choose an initial direction. Randomize to explore alternatives, then save a scene variation before making larger changes.
- Refine the pattern. Adjust the displayed parameters in small steps. Check both the overall silhouette and the density of the surface; more iterations are useful only when the extra detail improves the shot.
- Add the finishing stages. Introduce MoExtrude, Fields or fragment coloring when they serve the effect. Make a small render or short animation test before extending a complex setup.
GOOD TO KNOW
Topoformer
questions.
What does Topoformer do?
Topoformer changes an object’s topology procedurally, providing different surface structures from an existing source. It is useful for exploring patterned geometry and abstract treatments without manually rebuilding every variation.
Do I need MoExtrude to use it?
No. Begin with the topology pattern itself. The MoExtrude workflow is an additional stage for introducing depth and variation when a flatter surface treatment is not enough.
What is new in version 2.0?
The creator lists real-time preview, faster feedback, improved topologies, topology switch buttons and a randomize topology button. These tools support comparing and refining patterns; performance still depends on the object and scene.
Which Cinema 4D versions are supported?
The creator currently lists Topoformer 2.0 for Cinema 4D R23–2026. Check the current creator listing before buying or updating. This is creator-listed compatibility, rather than a claim that Alpha Pixel has tested every release.
Who develops Topoformer?
Topoformer is developed by Merk Vilson. The purchase buttons use our affiliate link to the creator’s Gumroad checkout. Current downloads and product support are provided by the creator.
COMPATIBILITY